Friday 24 August 2018

Giant flemish rabbit - a super cute amigurumi

So, with the rain that has been happening of late it has been a perfect time for me to try and upskill my crochet skills. I have been doing a lot of my own designs recently now the Mandala Madness blanket is completed, well the first out of the four is. I have been enjoying making up new phone case designs with cats and unicorns added. I have also been working on doing some Christmas patterns. I know, we are not yet out of August and I have mentioned the dreaded C word!

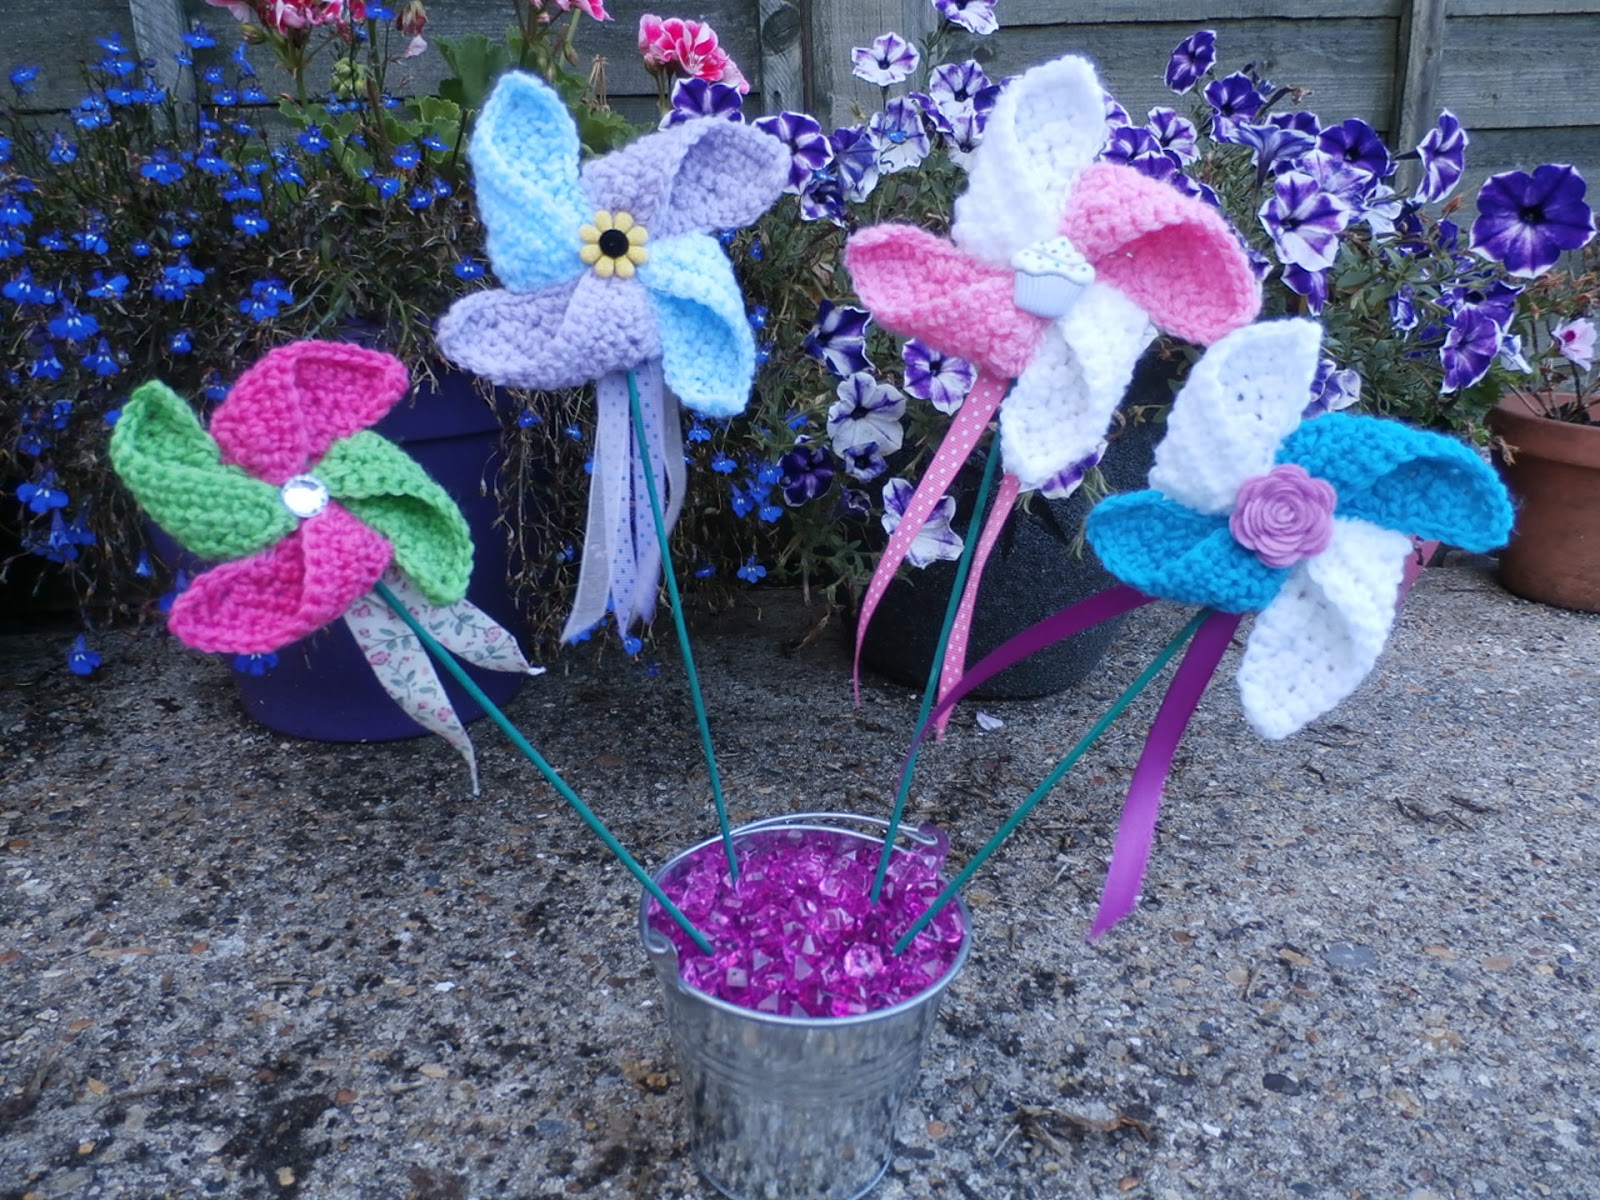
Although I really enjoy doing small projects that are all my own original work I do like to make up existing patterns by other fabulous designers. This gives me a great opportunity to try out new techniques an also new stitches. The giant Flemish rabbit is one such pattern. With the blankets and my phone cases I often find myself using my trusty 4mm hook. I do use a 3.5 for the calorie free doughnuts and ice lollies as I don't want there to be holes for the stuffing to show through. This pattern for the giant Flemish rabbit asked for a 3mm hook. Although this was not much smaller than what I usually use I did find that it took a little getting used to as I was using the same thickness yarn that I do for my other projects.

The Giant Flemish rabbit in the pattern was made up using a dark brown colour and although I do have a variety of different browns in my stash I wanted to use something different so I chose to do mine in white. I love working in the round especially when it is done in a spiral so you don't get a join showing where you slip stitch to the first stitch. I loved the way that you made the little front legs first and then when you get to that part in the pattern you join them to the main body, going through both sets of stitches, so no sewing is required. It gives such a neat finish, you need to make sure though that you use stitch markers or else you could end up with the legs in the wrong place! I also love the little cute tail. It is also crocheted but to get the fluffy look (as though you have made a pom pom) the tip was to get a piece of Velcro/ hook tape and carefully rub it over to bring up the fibres from the yarn. It is so soft when it has been done. I did have to think about how to do the eyes as all the white rabbits that I have seen pictures of recently all seem to have pink/red colour eyes. I only had green or brown safety eyes and to be honest the pink colour eyes kind of freak me out. They remind me of the rabbits in Watership Down and that film did scare me when I first watched it as a child.

I am glad that my completed Giant Flemish rabbit does not scare me. I think it is a great pattern, very well written and I have ended up with new skills and techniques and a super cute bunny as well. As you can see he seems at home in my garden.


Friday 17 August 2018

Crochet windmills - perfect for the garden

So, summer is starting to feel as though it is starting to come to an end with the very hot weather having passed and the rain giving the gardens a much needed drink. The grass is starting to look a bit greener rather than the brown look it has had for what has seemed like ages.

It has been nice to be able to go out in the middle of the day again as I really couldn't cope with the high temperatures and only ventured out first thing or late in the afternoon. I am really lucky to live quite close to the seaside and the gift shops often have lots of bright coloured windmills ready to put in the sand or on top of a castle. I loved the idea of these bright flashes of colour and their simple shapes.

The crochet windmills have been made using double crochet and lots of decreases. The first one that I made I used just one single colour, and sewed a big white button in the centre. This is not only a lovely decorative feature but it also serves to cover up where the pieces join in the middle. I was really pleased with the first one but wanted it to stay in the classic windmill shape rather than go flat. I first tried to use some spray starch. This worked to a degree. It held some of its shape but not as well as I had hoped it would. I then thought I would experiment with watered down PVA glue. An old favourite. The windmill was put in a bath of the mixture and then squeezed out to get rid of the excess. It took a good couple of days to dry out but once it did I was really happy with the result. It held it shape really well. Just the effect I wanted.

With the prototype basic shape completed next was to experiment with colour combinations. The possibilities are endless. I also wanted to experiment with different sizes, this would allow me to create a double windmill which I think looks really cute. Once they were completed I glued them onto a garden cane, added ribbons and covered the area with a circle of felt so the back looked neat and tidy. I think that they are perfect for putting in the garden to add a splash of colour and also for having inside to brighten up a room. I have used a small metal bucket with some oasis inside which has then been covered with decorative glass pebbles.

I have loved making these as they use up some more of the yarn mountain. The only downside (apart from getting very gluey!) is the time it takes to dry. I can be impatient at times especially when I wanted to add the pretty ribbons and they were too wet still. They were definitely worth the wait though.


Thursday 9 August 2018

Mandala Madness - a prize winning design

So, I decided that because I had finished my Mandala Madness blanket that I would enter it into our local show at the weekend. I had sent in my entry form the week before but on it you didn't need to say what it was that you were entering, just the class so I could if need be enter something different.
With the blanket getting finished on the Wednesday I was pleased to have a couple of days breathing space before the show but boy was that leaving it tight to get it done as we all know how life can throw you a curve ball and the best laid plans get thrown out of the window.

The week before the show I had decided that I would like to get the blanket finished if I could as I had had so many lovely compliments on it, both online and from friends. The problem I was going to have was finding enough time. The main blanket had been completed but I still needed to square the circle. I had done 11 rows out of the 29 but each row was starting to take longer as the corners worked their way towards meeting each other. Once the corners were done it was on to going around the whole blanket again and this was where it took so much longer each row, some of them taking over three hours to complete. I have been lucky with the fact that at the moment I am on holiday from my day job so could dedicate some time to getting it finished but probably not as much as I would have liked to.

Setting up for the show was exciting. I had entered into an open class as although they had one for kitted items they have not as such got one for crochet. I am hoping that this will change. This class meant that my Mandala Madness blanket was up against some amazing wood carvings, embroidery, beadwork  and also other crochet blankets. Once I was in the marquee it was a case of finding where my table was and then to lay out my blanket hoping that I had shown it off enough to impress the judges. Then it was a case of fingers crossed and then to have a look at all the other items that people had spent such time and care making (or watering and nurturing).

The show is the biggest one where I live and often attracts over 1600 entrants to the various different classes which also include home grown vegetables and flowers along with pickles, chutneys and of course, cake. I don't know where the time went but before I had known it I had spent 2 hours from the moment I had walked in to the marquee to the time I left. The standard was amazing and it was great fun trying to work out who might get a prize and finding out the next day when I went back to collect my Mandala Madness blanket.

I found out on the Sunday morning that my blanket had impressed enough to win a prize when I got a phone call from my Mum to say my sister had gone to the show and had seen that my Mum had got a prize for her patchwork blanket in her class and that my blanket had won a prize too. She couldn't wait to give us a ring to share the good news. Our Mum had got a third but my blanket had come away with a second prize! I am so thrilled as the work there was so good and it made all the hard work that I had put in worth it. That someone else had recognised it too. It is the first time I have entered any of my crochet into the show but it definitely has spurred me on to make something for next years show and also to enter more classes using some of my other craft skills.

I better start making now ...............................


Friday 3 August 2018

Squaring the circle - Mandala Madness blanket

So, it is finally complete. The last of the four blankets that I started just over a year ago is the first one that has been completed to the end of the squared up design. I really liked the blanket when it was just a circle but I love it now that it is a square. I think that it completes it somehow, especially with the choice of wool and colours that I have used.

The squaring up was so much easier to do than I first thought that it would be. The one thing though that I did have to concentrate on was getting my stitch count right when working on the corners pieces as I knew that if they were wrong that I would end up with a rather wobbly shape rather than a square! The other thing that I have found really hard to do is completing it in this very hot weather that we have been having. The thought of having this big blanket on me to work on feared me with dread but I managed to somehow get the majority of it to one side so only the very bare minimum was on me. A very different scenario to earlier on in the year when we had snow and I was so keen to snuggle under it to do a few more stitches.

The pattern for the whole blanket is by two different designers, Helen Shrimpton and Ineke Mooijenkind, and they flow seamlessly. Helen wrote and designed the inner circle and Ineke wrote the latter part of how to square the circle. The latter part is so very similar in style that it works so very well. I have loved doing both sections and have learned so much. I used in total 14 of the Stylecraft Batik swirls and limited myself to using just 4 of the different colourways in their cakes. This wool is so soft and an absolute dream to work with. I was really unsure of how the variegated style of the wool would look especially when the blanket got bigger as I knew that the different colours would not make it all the way around and I would have to just live with that fact rather than trying o control where the colours would fall. I was also unsure of putting the blue and green cake in against all the purples and pinks. I think choosing the cake that had a lot of greys and lilacs really helped to bridge the gap between these two and helped soften what would have been quite an abrupt change. I do like however that it is the blue and green cake that finished off both the circle and the square. A very happy accident. There is only so much you can plan out in your mind!

I love this blanket pattern. Now to finish the other three.............