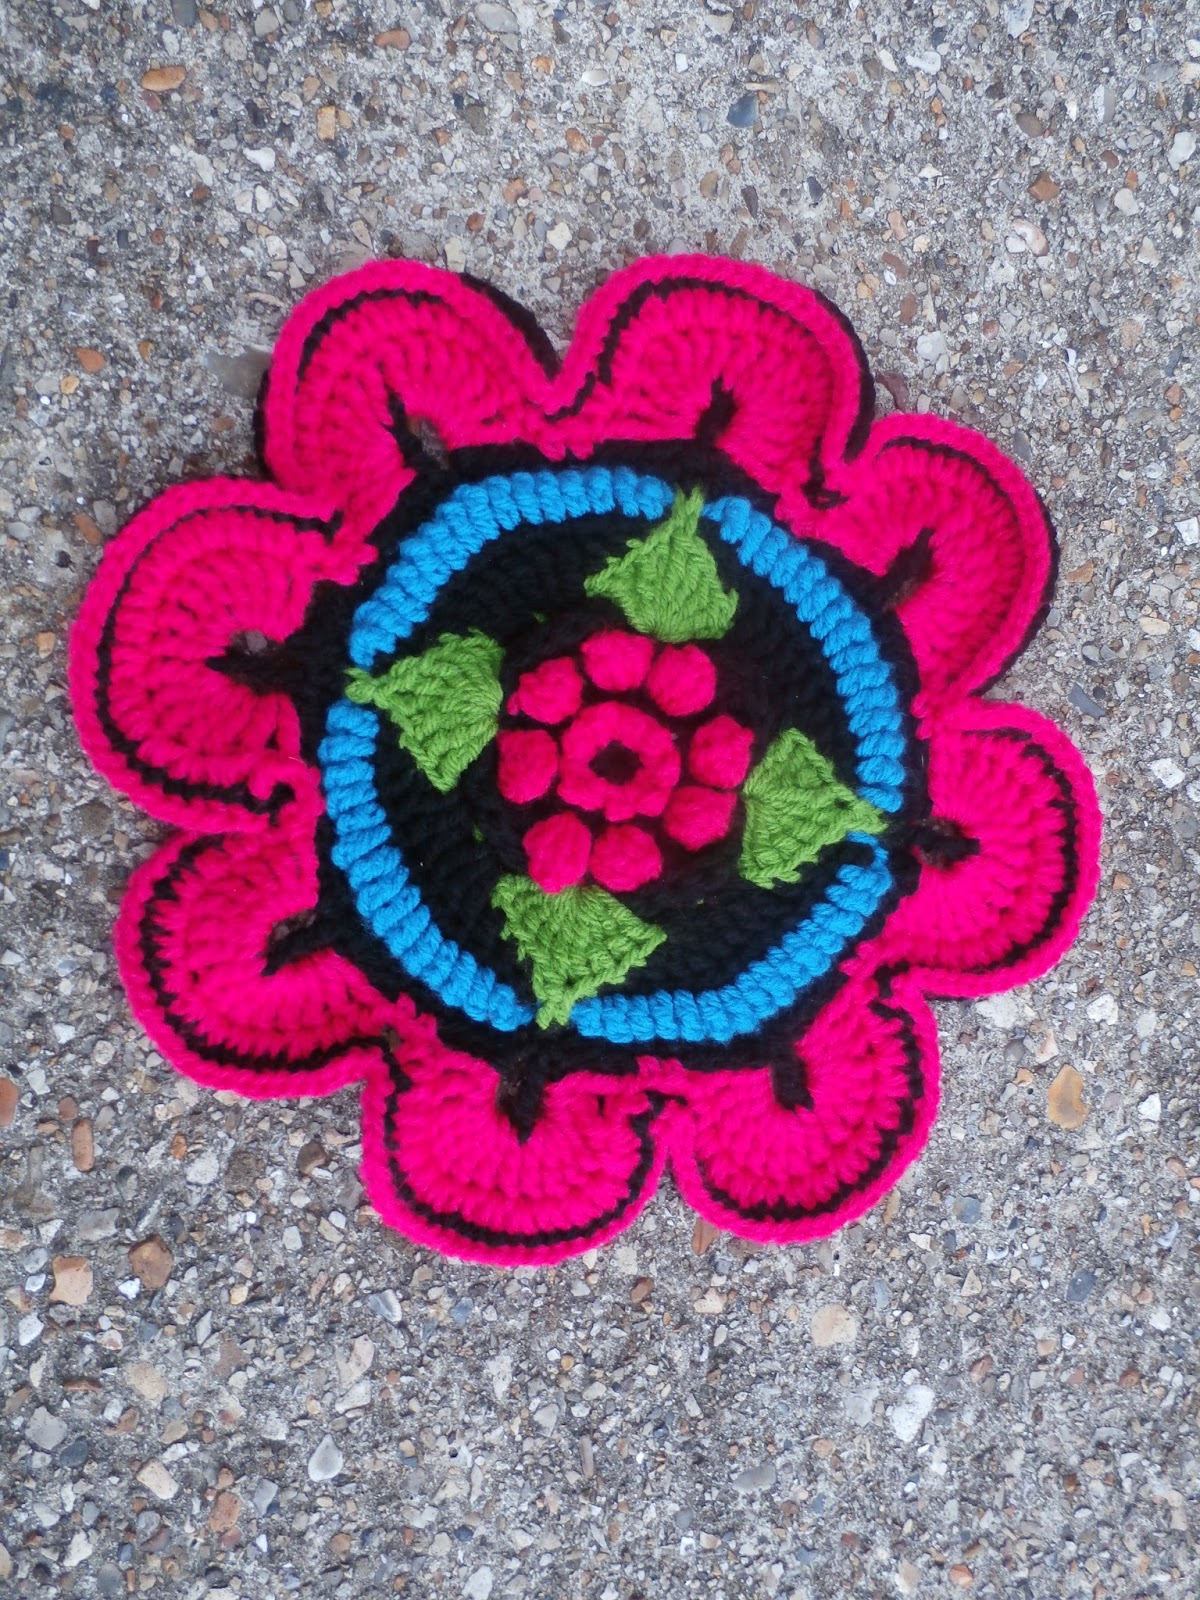
Well part 6 has a new stitch for me to learn and I absolutely love it! I now have been doing the bobble stitch. At first I was a bit apprehensive as it meant turning my blanket around and working from the back instead of the front. It was a little fiddly at first but I soon got used to it. I started doing this new stitch on the white blanket. The one that will eventually be given to my Mum and did the bobble section using the pink wool. I am still trying to work out how to repeat my accent colours on the double knit blankets. The repeat is; pink, green and then either blue or grey depending on which of the double knit blankets it is.
With the colour change I don't have that issue but I was concerned about working from the back with the bobbles. The wool very slowly changes and as I have been going in the same direction I was worried that I would end up with a section that might be more of a block of colour rather than the subtle variation in colour that is barely noticeable. I needn't have worried as where the rounds are still fairly small the change doesn't show and I know its there! The colour, by the end of the part, has changed again. The green has completely gone and a dusky pink colour has now started to creep in.
The part ended up finishing with a round that reminds me of a picket fence and for the first time there are big(ish) visible gaps in the work. It will be interesting to see how the next part starts from there. I am looking forward to it.
Onto part 7 ...................
Sunday, 25 June 2017
Sunday, 18 June 2017
Mandala Madness - Part 5
My three blankets are starting to change shape again. Instead of having sides that are more in a straight line they have started to look like a flower at the end of this part. The crochet has been nice to do and really straight forward. There have been no tricky stitches to try and learn which has been good (although I do like a good challenge). Working behind the popcorns has meant that the colour has travelled from one section to the next without it being too obvious and having either a big visible line or the need to cut the wool and join on.
I really like working from the back and around the posts as with both versions done in the double knit you get a line appearing when you have the colour change just a little bit lower. I also like how it makes that section stand a bit more proud than the rest of the work. I nice texture touch.
All three blankets are starting to show how the pattern ways are working. I like that I am getting an idea of the repeat colours with both of the double knit blankets but I also like how my colour change wool has changed again its colour and is starting to get rid of the green shade and bring in a fawn/beige colour.
Onto part 6 ...................................
Monday, 5 June 2017
Mandala Madness - Part 4
Part four of my Mandala Madness has now been completed on all of my three CAL's. There were no new stitches to learn in this part so it was pretty straight forward. It also had the added bonus of one of my favourite stitches to finish off with. The popcorn stitch! I love how this adds texture and interest. Making sure that the blanket isn't all one flat surface. The popcorn stitch is also broken up to match the ruffle sections from part three but is slightly longer as the blanket is growing in size. The double knit versions are now approximately 23 inches across (diameter) and the colour change version is smaller due to the thinner yarn used at approximately 16 inches.
I am still continuing to alternate the contrast colours on the double knit versions and I like how this repetition flows through both. Even though the pink and the greens are different shades, I have tried to match them and complete the same rounds using the black and white as the base colour.
Monday, 29 May 2017
Mandala Madness - Part 3
So I have now managed to finish all three of my Mandala Madness CAL's to the end of part three and I found it really hard to put them down! New stitches were the ruffle stitch (my new favourite along with popcorn) and treble clusters that end up looking like a circle over the two rounds (not my favourite stitch to do).
I think I wasn't that impressed with the treble clusters as I found it a bit tricky carrying the colour behind and making sure that it was neat. It was fine on the colour change version as this wasn't an issue as there was no second colour to carry. Having said that it wasn't my favourite to do, I really like the effect that it has given so wouldn't change it and I did get used to it by the time I had finished the second CAL and was pleased that I had managed it as it was my first time of doing them.
I love the ruffles! They really finish off the part and continue to add texture. They are really easy to do and a great alternative to the popcorns from part one.
Onto part 4 ..............
I think I wasn't that impressed with the treble clusters as I found it a bit tricky carrying the colour behind and making sure that it was neat. It was fine on the colour change version as this wasn't an issue as there was no second colour to carry. Having said that it wasn't my favourite to do, I really like the effect that it has given so wouldn't change it and I did get used to it by the time I had finished the second CAL and was pleased that I had managed it as it was my first time of doing them.
I love the ruffles! They really finish off the part and continue to add texture. They are really easy to do and a great alternative to the popcorns from part one.
Onto part 4 ..............
Wednesday, 24 May 2017
Mandala Madness - Part 2
Onto part two of the Mandala Madness CAL. There was quite a few new techniques to learn on the first part so I was interested to see how part 2 would go. The treble clusters were really straight forward and similar to the popcorn stitches (but with less stitches) and I am pleased with how the green shows up behind the pink "flower" from the first part. Once the next round was completed, I could see how the shape was starting to change. It was now looking more of an 8 pointed star. I really love the folded trebles that outline the end of CAL for the final round.
I have found that it is starting to get quite addictive and I don't want to put my crochet down. Either one! They are very different to work on as they are being done in the different yarns. The whirl is so much more delicate and I find I have to be careful not to split the yarn. I can also now see the colour is starting to slowly change and get lighter. The double knit is working really well but I have to keep on top of sewing those ends in every time I change colour (not such an issue with the whirl yarn). I don't want to get to the end and have them all to do.
As I am enjoying doing these I decided to show my Mum what I am up to, especially as she was the one who bought me the Scheepjes whirl yarn and was keen to see what I would do with it. She has fallen in love with the pattern even though I have only done a little of it. I am now doing a version for her. She wanted Stylecraft double knit wool and chose colours that match a quilt she is planning on making.
Part two complete. Onto Part three.
I have found that it is starting to get quite addictive and I don't want to put my crochet down. Either one! They are very different to work on as they are being done in the different yarns. The whirl is so much more delicate and I find I have to be careful not to split the yarn. I can also now see the colour is starting to slowly change and get lighter. The double knit is working really well but I have to keep on top of sewing those ends in every time I change colour (not such an issue with the whirl yarn). I don't want to get to the end and have them all to do.
As I am enjoying doing these I decided to show my Mum what I am up to, especially as she was the one who bought me the Scheepjes whirl yarn and was keen to see what I would do with it. She has fallen in love with the pattern even though I have only done a little of it. I am now doing a version for her. She wanted Stylecraft double knit wool and chose colours that match a quilt she is planning on making.
Part two complete. Onto Part three.
Wednesday, 17 May 2017
Mandala Madness Part 1
Whilst I am still enjoying sewing and have the next few projects sorted out in my head, I have got back into doing some crochet. I was given a "ball" of wool for my birthday a couple of weeks ago. I can't pronounce the name of it, Scheepjes, but I love how the colours blend beautifully as you progress further into your project. The colour combo that I am working with is called Popin Candy.
I knew straight away what I wanted to do with it. I had seen on a Facebook page a CAL (crochet a long) called Mandala madness by Helen Shrimpton. I found the pattern listed on Ravelry and the link took me to her website Crystals and Crochet. I am a beginner still when it comes to crochet. I have been able to do granny squares but have been trying to learn different stitches and how to follow a pattern. So far I have managed to crochet 2 cats, a hat and several flowers. This is something completely new and different. I wasn't too sure how I would go.
The website has really good picture (alongside written as well) instructions that I am mostly competent enough to follow. It also has a link to videos of each part. The pattern was released in 18 parts over time in 2016. I must confess, I did start off by using the picture instructions but used the you tube videos of stitches/sections that I wasn't too sure about.
Not content with starting one I decided to start a second one. This time I thought I would use stylecraft with black being my base colour and cerise, apple green and turquoise as my accent colours. I am using a size 4mm hook with the double knit wool as opposed to the 3mm for my other one. They are coming up different in size and I am trying to complete a round on one and then repeat the same round on the other one. I already even at this early stage have plans for different colourways as it is such an addictive pattern!
Right. Part one is complete. Lets start part two :)
I knew straight away what I wanted to do with it. I had seen on a Facebook page a CAL (crochet a long) called Mandala madness by Helen Shrimpton. I found the pattern listed on Ravelry and the link took me to her website Crystals and Crochet. I am a beginner still when it comes to crochet. I have been able to do granny squares but have been trying to learn different stitches and how to follow a pattern. So far I have managed to crochet 2 cats, a hat and several flowers. This is something completely new and different. I wasn't too sure how I would go.
The website has really good picture (alongside written as well) instructions that I am mostly competent enough to follow. It also has a link to videos of each part. The pattern was released in 18 parts over time in 2016. I must confess, I did start off by using the picture instructions but used the you tube videos of stitches/sections that I wasn't too sure about.
Not content with starting one I decided to start a second one. This time I thought I would use stylecraft with black being my base colour and cerise, apple green and turquoise as my accent colours. I am using a size 4mm hook with the double knit wool as opposed to the 3mm for my other one. They are coming up different in size and I am trying to complete a round on one and then repeat the same round on the other one. I already even at this early stage have plans for different colourways as it is such an addictive pattern!
Right. Part one is complete. Lets start part two :)
Sunday, 7 May 2017
Steampunk shorts
I decided my next challenge would be to make myself a pair of shorts. I have never made anything like this before. The closest I have been to stitching shorts was to repair my lads trousers (many times) when they were little as they often came home with the knees out and the crotch split open from playing football.
The pattern I am using is Simple sew, The Shannon collection, with black cotton drill as my fabric choice.
After cutting out the fabric, which was fairly straight forward, the next step was to put in the darts. I have done darts several times before so this was pretty straight forward. Once these were done I had to tackle the pockets. I have done pockets that are inserted into the side seams once before, on the skirt on a previous blog post, but not like the ones on this pattern. The process s pretty straight forward. It is just making sure that you have the right pattern pieces and that the undersewing is nice and neat.
The waistband is made in three separate sections in the front and one piece for the back. These are then doubled up to make the double thickness. A bit fiddly but not too bad. Once this was done it was on to the invisible zip. I have done zips before but never an invisible one. You tube however was my friend and after doing some research onto how to get the neatest finish it was time to put it into practice. Although it looks really tricky, it is more straightforward than it looks and I am really pleased with my first go.
I am really pleased with the result and will probably feel confident to do more invisible zips in the future. The only bit left to do now is to sew up the remaining seam, sew the legs and hem the bottoms. This was very straightforward and was really quick to do. The pattern states that the buttons are for decorative purposes only so no need to measure out and do button holes. Rather than ordinary buttons I wanted something a bit different. I found some Steampunk inspired octopus buttons in a local shop that I thought would be perfect. They had a shank on the back which I didn't want so this was cut off and invisible thread was used to attach them, using the tentacles as a fixing point as they had no holes. I am really pleased with the finished result and will definitely be making these again. The pattern is very straight forward to follow, with enough challenge for me to extend my skills. I enjoyed making them and already have several ideas on how to adapt them next time!
Subscribe to:
Posts (Atom)